Set up PartyKit server
In this step you will set up your PartyKit server to handle HTTP requests.
Install PartyKit
To add PartyKit to a new app, run the following command in the terminal in your app directory:
npx partykit@latest initThis command adds three things:
- the
partykitpackage, which enables building and deploying realtime servers, - the
partysocketpackage, which provides a WebSocket client that will automatically reconnect if the connection is dropped, - a new directory called
partywhere your server code will live.
Run dev servers
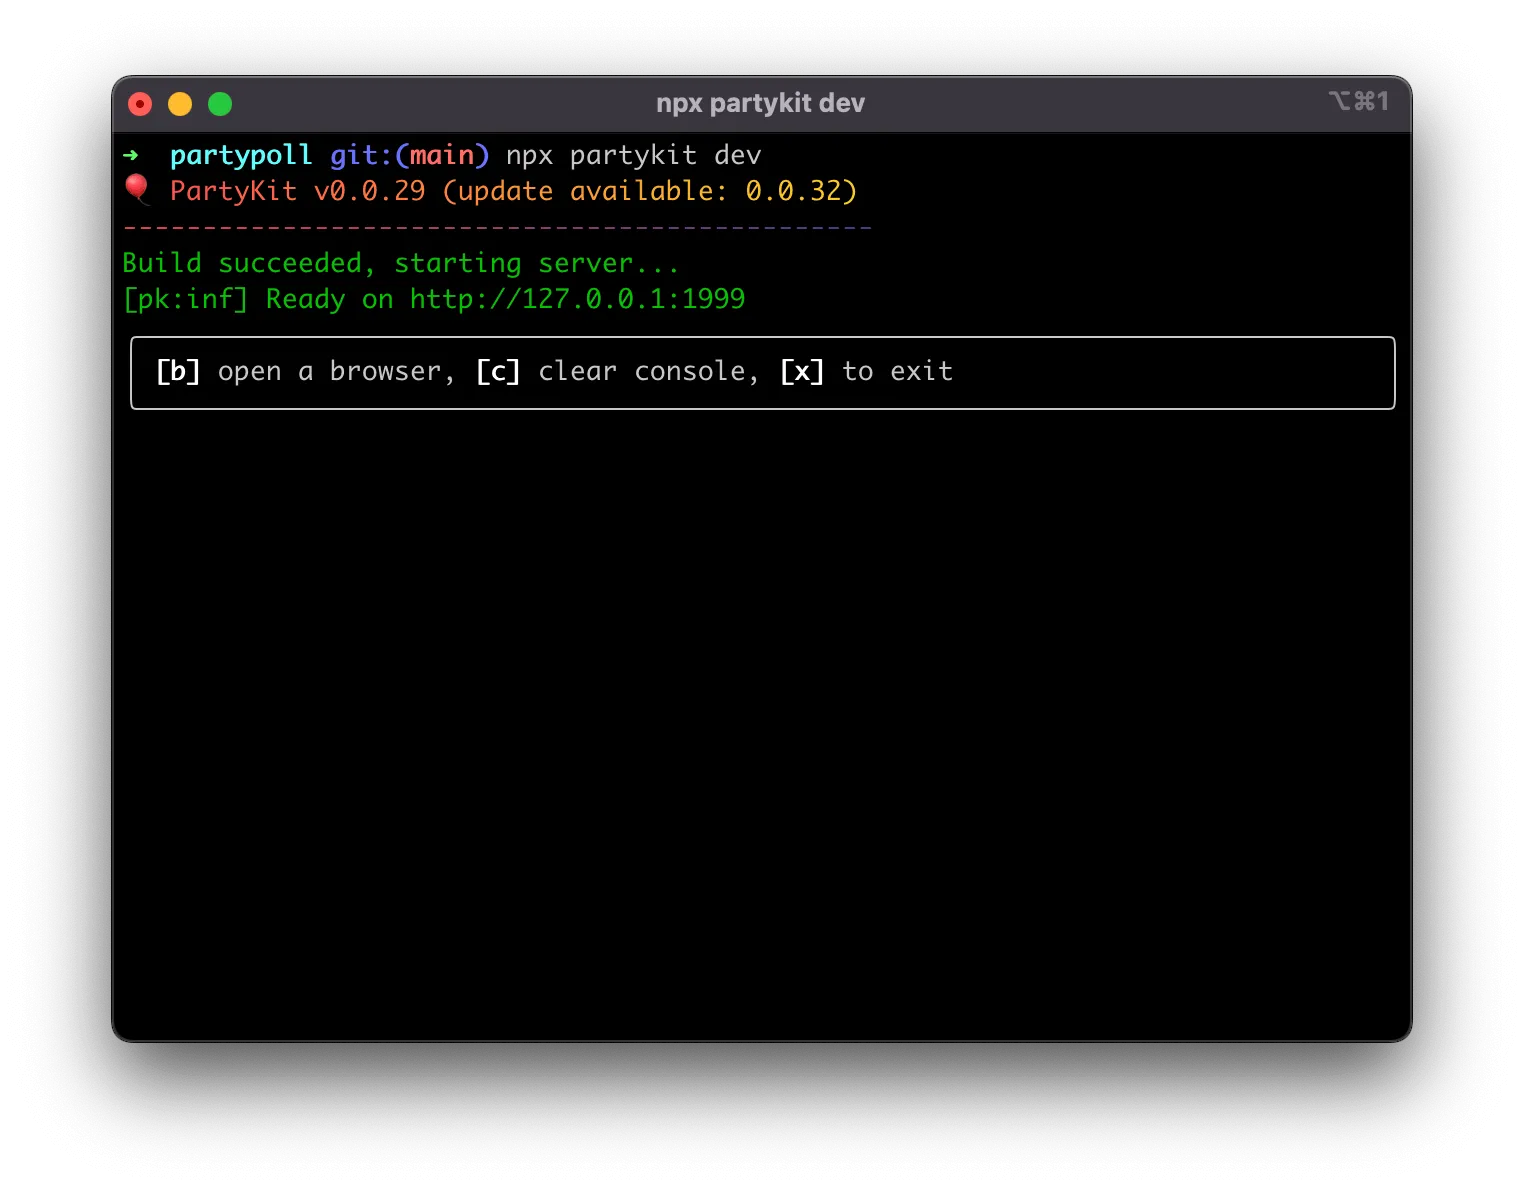
In the previous step you started the Next.js dev server. Now open an additional tab in your terminal and run PartyKit dev server:
npx partykit devIf it works correctly, you should see an output similar to the following:
Set up the server
Navigate to the index.ts file in the party directory. This is the server template that was created for you when you initialized PartyKit. Replace the code with the following:
import type * as Party from "partykit/server";
import type { Poll } from "@/app/types";
export default class Server implements Party.Server {  constructor(readonly room: Party.Room) {}
  poll: Poll | undefined;
  async onRequest(req: Party.Request) {    if (req.method === "POST") {      const poll = (await req.json()) as Poll;      this.poll = { ...poll, votes: poll.options.map(() => 0) };    }
    if (this.poll) {      return new Response(JSON.stringify(this.poll), {        status: 200,        headers: { "Content-Type": "application/json" }      });    }
    return new Response("Not found", { status: 404 });  }}
Server satisfies Party.Worker;
Let’s go over this code.
Since each poll will be its own room, you can keep our poll data in-memory. You can also use the TypeScript types from our Next.js app:
poll: Poll | undefined;Next is the onRequest method, which receives a regular HTTP request:
if (req.method === "POST") {  const poll = (await req.json()) as Poll;  this.poll = { ...poll, votes: poll.options.map(() => 0) };}
if (this.poll) {  return new Response(JSON.stringify(this.poll), {    status: 200,    headers: { "Content-Type": "application/json" },  });}
We will create the poll in a Next.js server action, and we cannot make a WebSocket connection from the server component. Fortunately, PartyKit accepts also HTTP requests. When a user creates a poll, the submit button will send a POST request to the PartyKit server and a new poll will be created.
Finally, if the poll exists, the method will return its data; otherwise, it will error out:
return new Response("Not found", { status: 404 });Next steps
With the PartyKit server ready to receive messages, you can now connect it to the UI.
🎈 If you’d like to check how your code compares to the finished app, check the finished code online 🎈